
Many climbers avoid crimp climbing because they associate doing so with finger injuries. While many climbing injuries stem from climbing crimps, they can be avoided if you train your fingers properly and listen to your body.
Crimp Climbing 101 covers the essential techniques and training tips for using crimps. From the three types of crimps, when to use them, and how to improve your crimp strength.
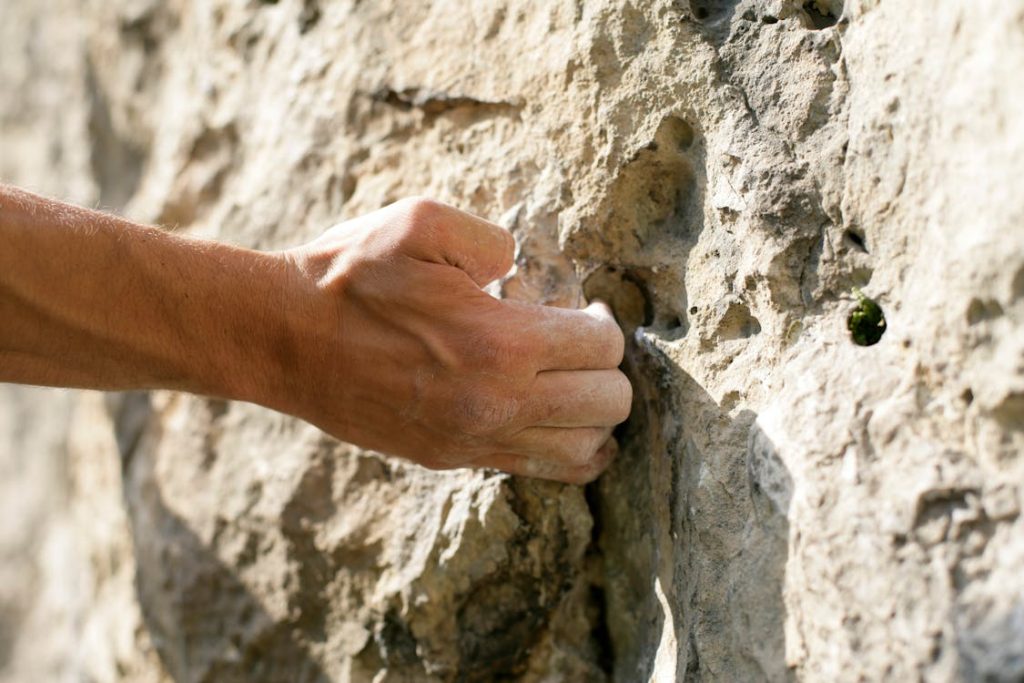
What is a Crimp?
‘Crimp’ is a noun and umbrella term that describes the type of hold found in rock climbing where you can only fit the first pad of your fingers on a hold (or less). Crimp climbing requires excellent finger strength to perform correctly. ‘Crimping’ or ‘to crimp’ is a verb that describes using a crimp. Further, ‘crimpy’ is an adjective that describes a route or boulder problem.
Crimps can be many different shapes and sizes, too. They can be slopey, in-cut, or flat- Plus, they can be 6mm or 18mm wide, or anything in between. There’s no standard for a crimp because there are multiple kinds.
The Three Types of Crimps
Open-Hand Crimp: (AKA “3-finger drag”) The open-hand crimp is used on slightly easier terrain when you want to conserve energy. Your little finger will hang off the hold while your index, middle, and ring fingers grab the hold. This hold isn’t as active as a half-crimp and relies more on friction and tension than your pulley muscles.
Half-Crimp: The half-crimp is the grip with the most applications while climbing. To perform a half-crimp, a climber’s index, middle, and ring fingers are bent at a 90-degree angle while the pinky is straight (simply because it is shorter). The thumb either rests next to the index finger or onto the hold, if possible.
Full-Crimp: Many climbers see full-crimping as a tool for injury. While many have become injured while full-crimping, overuse and not listening to their body are likely the causes. To perform a full-crimp, perform a half-crimp, and then wrap the thumb on top of the index finger. This closes the hand shape, enabling the climber to generate more force when crimping.
When to Use Each Crimp:
There are specific applications for when to use each crimp when climbing, so you should test them out when you’re climbing. As stated above, the open-hand crimp is a good grip to conserve energy but will give you less strength than the half or full-crimp.
Alternatively, it will depend on your finger length. If your fingers are long or vastly different in length, then bringing your thumb over the top for a full crimp might not be an option. Play around with what works best for you.
How to Train for Crimp Climbing
If you’re new to climbing, the best way to train your crimps is simply by climbing crimpy routes. Finger muscles are tiny; therefore, they take the longest to strengthen. So, hop on some crimpy routes and see how you do! When starting, avoid full-crimping until you have built enough strength that half-crimping feels good.
Hangboarding, also known as ‘fingerboarding,’ is the best way to train your crimp strength once you’ve developed your pulleys and tendons more. You can train each grip type: open-hand crimp, half-crimp, and full-crimp. Just be careful when training full-crimps!
Open-hand and half-crimps are generally fine to train until failure because your fingers will straighten when you fall off an edge. The full-crimp is locked into place with your thumb so you should only perform small amounts of sub-maximal load levels on the hangboard.
Hangboarding Exercises (Crimp Climbing 101)
A hangboard is an excellent tool for training finger strength. First, you’ll need to play around with the different hold sizes to see how long you can hold on to each. Find the edge you can barely hang onto for 15 seconds (we’ll call this Edge 1), then find the edge you can barely hang onto for 13 seconds (we’ll call this Edge 2).
Once you have this down, take that information and try out these two workouts to get your fingers strong and ready to tackle your projects:
- Minimum Edge Hangs (Edge 1)
- Hang for 12 seconds.
- Rest for 3 minutes.
- Repeat four times (each hang should be near max but not to failure)
- One set is five hangs.
- Rest for five minutes in between sets.
- Maximum Weight Hangs (Edge 2)
- Hang for 10 seconds. (Add/subtract weight as necessary)
- Rest for 3 minutes.
- Repeat four times (each hang should be near max but not to failure)
- One set is five hangs.
- Rest for five minutes between sets.
Recent Comments